Winter is here, and you probably have your furnace running right now! These 7 tips will help you get started!
Be sure to follow these 7 steps to make sure your furnace is ready for winter long heating. Many of these steps you can do yourself, but a good maintenance plan from your local service provider can help you rest easier this winter.
1. Covering the outside AC unit
Cover the top fan of your outside air conditioning unit to protect it from falling icicles, snow and winter debris. Do not wrap it in a plastic tarp as it will trap moisture and don’t cover at all if HVAC is a heat pump because it will need to run year round.
2. Turning on the thermostat
Turn the switch from cool to heat and raise the temperature about 2 degrees higher than the displayed room temperature. You should hear the heat kick on within a minute. If it does not, pull off the cover and make sure the wire connections are secure or have a professional do so. If the connections are tight, make sure the power source to the HVAC system is turned on. If it’s still not working, call a professional.
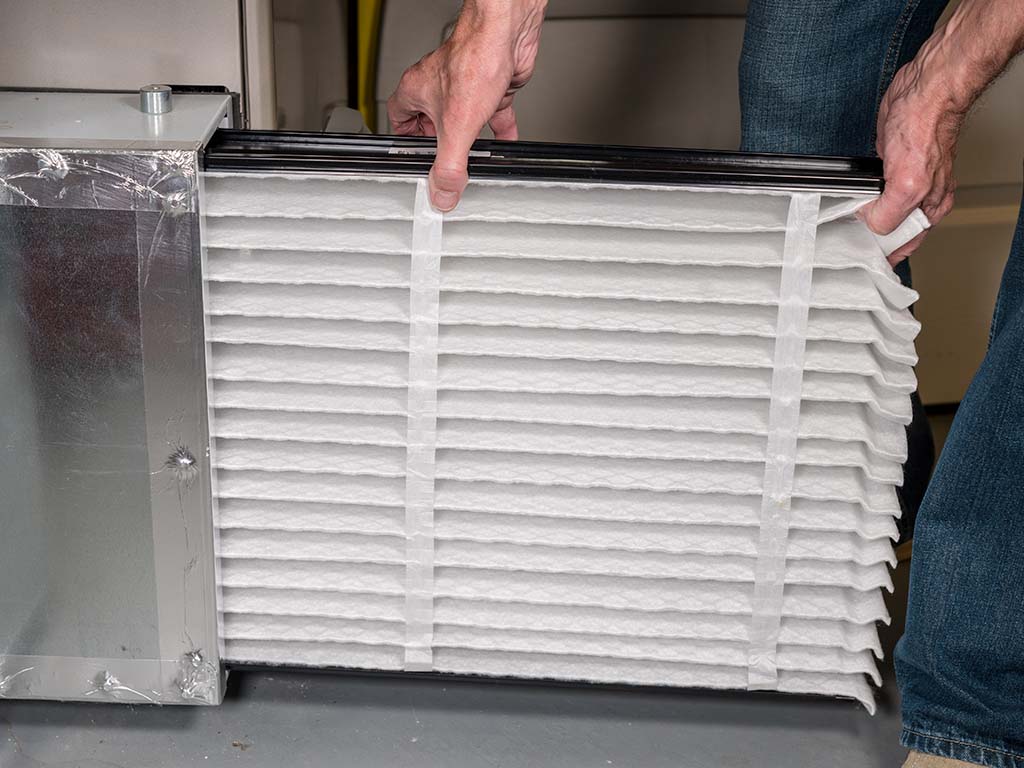
3. Changing the air filters
When you are first turning on your thermostat for the first time, each year dust will get heated up from the heating flames. This is nothing to worry about as it only happens once. If you smell odd smells during the winter, call a technician immediately. It’s a good idea to have your furnace serviced each summer and winter to make sure it is in tip-top shape. You should change your filter every 2 months for optimal performance or if you have a permanent electrostatic filter, wash every 2 months and re-use. This also applies to your humidifier filter if your HVAC has one. This will all prolong the life of your HVAC system.
4. Cleaning the heat exchanger
This is where it is wise to call a professional. They will look for cracks, which could lead to a dangerous carbon monoxide leak into your home. If you choose to do yourself, disable the unit before cleaning, but we recommend you call your service provider as carbon monoxide is nothing to mess with.
5. Lubricating and cleaning the blower motor.
Be sure to check the owner’s manual first as not every blower motor needs lubrication. If your HVAC system requires this step, turn the power off, open cover, clean caps covering the bearings, remove the caps and lubricate the bearings.
6. Testing the igniter switch
Old HVAC systems require a pilot re-light, but newer systems have electronic ignitors. If the ignitor is not working, push the reset button. If that doesn’t work, check the breaker. If none of those steps work, you’ll need to call your service provider.
7. Inspecting the chimney and carbon monoxide detectors.
Have a professional come in and inspect your chimney, which can accumulate carbon buildup. Also, have them test carbon monoxide detectors inside your home as carbon monoxide goes undetected and is considered a silent killer. You can also buy a natural gas detector and plug it near any device using natural gas.
It’s rare, but some homes still have oil-powered furnaces. Oil doesn’t burn as cleanly as gas, so it is essential to change the filter, clean the burner nozzle, brush heat-exchange thoroughly and check the tank level regularly.
Be sure to follow these seven steps, and your HVAC will hopefully last longer and perform better for years to come.


